FREE SHIPPING ON PRECUT KIT ORDERS OF $100 OR MORE

With Labor Day behind us, it’s just a matter of time before the holidays are here and early Fall is a great time to give your glass doors and windows a glow up before the holidays!
The holidays are a season of inviting family and friends into our homes to celebrate and connect. For many of us, windows are central to our holiday decorating – a place where we place lights or candles for the season, or hang wreaths. They are also a window into our homes and festivities.
So if you’ve been ignoring your windows and glass doors all year or if they could just use a refresh, we’ve got all the steps you need to give your windows a glow up before the holidays!

The first step to give your windows a glow up for the holidays is to clean them. Windows and glass doors play a pivotal role in our homes, allowing natural light to flood in and offering a glimpse of the world outside. To maintain their aesthetic appeal and maximize their functionality, it’s essential to keep your home windows clean. Below are the steps to effectively clean your home windows, leaving them streak-free and sparkling.
Before you get started, gather the following materials:
Now, let’s dive into the step-by-step process of effectively cleaning your home windows.
Pick a cloudy day or a time when the sun is not directly shining on your windows. Cleaning windows in direct sunlight can cause streaks as the cleaning solution dries too quickly.
Before applying any cleaning solution, use a dry cloth or a brush attachment on your vacuum cleaner to remove dust, cobwebs, and loose debris from the window frame and sill.
In one of your buckets, mix your chosen window-cleaning solution. A few drops of dish soap or a splash of vinegar in warm water work well. Ensure it’s well-mixed but not overly soapy.
Dip your scrubber or sponge into the cleaning solution and wet the entire window, working from top to bottom. Ensure the window is thoroughly soaked, as this will help loosen dirt and grime.
Gently scrub the window with a damp scrubber or sponge, paying extra attention to any spots or stubborn stains. Take your time to work on any problem areas.
Starting at the top of the window, use your squeegee to wipe down the glass in a straight, horizontal motion. Wipe the squeegee blade with a lint-free cloth after each pass to prevent streaks. Continue this process, working your way down the window.
After squeegeeing the entire window, use a clean, lint-free cloth or paper towels to dry and polish the glass. Wipe in a vertical motion on one side and a horizontal motion on the other to easily identify and remove any streaks.
If your windows are particularly dirty or if streaks persist, repeat the process, paying extra attention to thorough rinsing and drying.
Don’t forget to clean the window frames and sills using a damp cloth or sponge. Removing dirt and grime from these areas will enhance the overall appearance of your windows.
Regularly cleaning your home windows not only enhances their appearance but also prolongs their lifespan. Following these steps will help you achieve sparkling, crystal-clear windows that allow you to fully appreciate the world outside while enjoying a brighter and cleaner interior. So, roll up your sleeves, gather your supplies, and get ready to let the light shine in!

Another important way to give your windows a glow up is to make sure the trim on the windows looks its best. Trim paint is like the finishing touch that ties a room together, framing doors, windows, and baseboards with a crisp, clean outline. Over time, however, even the most carefully applied trim paint can show signs of wear and tear. Dings and mars can make your windows look tired and untidy.
But fear not! With a little time and effort, you can easily refresh your trim paint and give your home a renewed sense of polish.
Before you begin, gather the following materials:
Now, let’s dive into the step-by-step process of touching up your trim paint.
Start by preparing the area around the trim. Lay down drop cloths or old sheets to protect your flooring and furniture. Use painter’s tape to mask off the areas adjacent to the trim, such as the wall and flooring. This will help prevent accidental paint smudges on these surfaces.
Dust, dirt, and grime can accumulate on trim over time. To ensure a smooth finish, wipe down the trim with a clean, damp cloth or sponge. This will remove any surface dirt and allow the paint to adhere better.
Inspect the trim closely for any rough or uneven areas. Lightly sand these spots with fine-grit sandpaper until they are smooth. This step ensures a seamless finish and helps the new paint adhere properly.
If you’re using paint that has been sitting for a while, give it a good stir to ensure an even consistency. Use a stir stick or a paint mixer for this purpose.
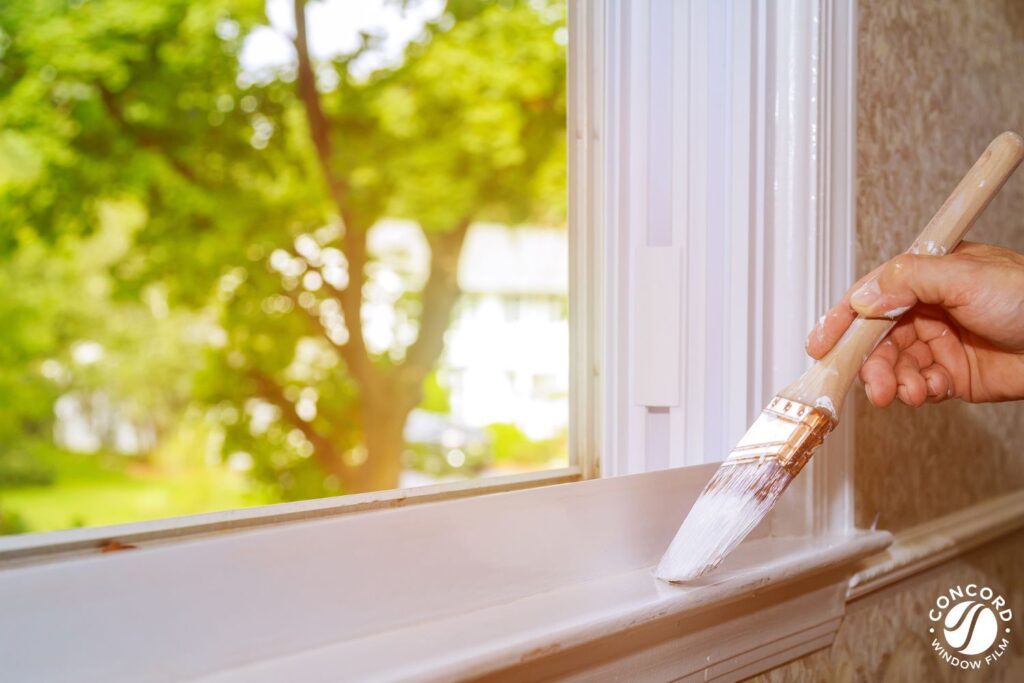
Dip your angled sash brush into the paint, removing any excess on the rim of the can. Start by painting the trim at one end and work your way along its length. Use steady, even strokes, following the direction of the trim. Avoid overloading the brush with paint to prevent drips and streaks.
To blend the new paint with the old, feather the edges by lightly brushing over the wet paint with a dry brush. This technique helps to create a seamless transition and avoids visible lines between the old and new paint.
Let the first coat of paint dry completely according to the manufacturer’s instructions. Depending on the coverage and the condition of your trim, you may need to apply a second coat for a uniform finish. Follow the same process, ensuring each coat dries thoroughly before applying the next.
Once you’re satisfied with the appearance of your freshly painted trim, carefully remove the painter’s tape while the paint is still slightly tacky. This will help prevent any chipping or peeling.
Clean your brushes with warm, soapy water or the recommended cleaner for your paint type. Store them properly for future use.
Touching up trim paint in your home is a straightforward yet effective way to maintain and enhance your interior spaces. It’s a DIY project that doesn’t require a huge time commitment, but the results can be truly transformative. So, pick up your paintbrush, get started, and enjoy the refreshed look of your home’s trim.

Showing your screens some love is the next step to give your windows a glow up before the holiday season.
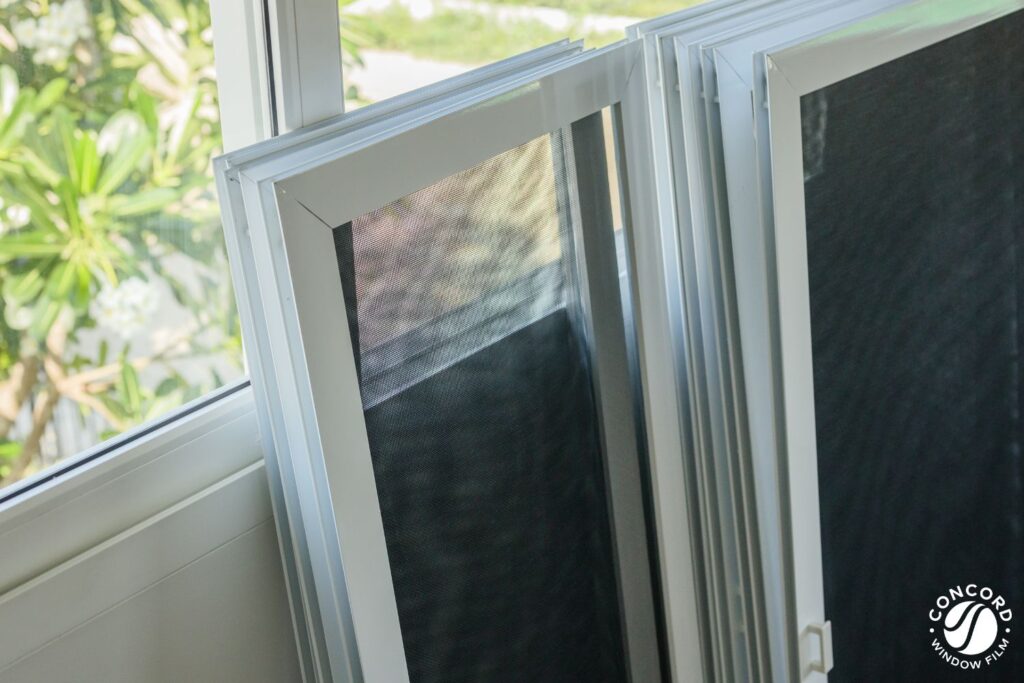
Window screens may not be the most glamorous feature of your home, but they play a vital role in maintaining a comfortable and insect-free living environment. Over time, screens can accumulate dirt, dust, and debris, obstructing your view and reducing airflow. To ensure your window screens stay functional and maintain their clarity, it’s crucial to care for them properly. In this blog post, we’ll guide you through the steps to effectively care for your window screens.
Before diving into the cleaning process, it’s essential to understand the importance of caring for your window screens:
Clean screens allow for better ventilation, which can help improve indoor air quality by letting fresh air in and expelling stale air.
Dirt and dust on window screens can obstruct your view of the outdoors. Regular cleaning ensures that you can fully enjoy the scenery.
Intact screens act as a barrier against insects and pests, keeping your home bug-free.
Proper care and maintenance can prolong the life of your window screens, saving you money on replacements.
Gather the following materials before you start caring for your window screens:
Now, let’s get into the step-by-step process of caring for your window screens:
If possible, remove the screens from your windows. Lay them flat on a clean surface outdoors, such as a driveway or patio. This will make the cleaning process more manageable and thorough.
Using a soft bristle brush, gently sweep away loose debris like dust, dirt, and cobwebs from both sides of the screen. Start at the top and work your way down to ensure you don’t miss any spots.
Fill a bucket with warm water and add a small amount of mild detergent. Mix the solution until it’s well-dissolved. Avoid using harsh chemicals that may damage the screens or the environment.
Dip a soft cloth or sponge into the soapy water and gently scrub the screens. Pay close attention to areas with stubborn dirt or stains. Avoid using excessive force or abrasive materials that could tear the screen mesh.
After scrubbing, use a hose with a gentle spray nozzle to rinse the screens thoroughly. Ensure that all detergent and grime are washed away. Rinse both sides of the screens until the water runs clear.
Lay the screens flat on a clean, dry surface to air-dry. To prevent water spots, you can use a microfiber cloth or soft towel to gently pat them dry and polish the frames.
If your screens have any tears or holes, you should replace the screen. You can do this yourself by removing the weather seal that holds the screen in the frame and replacing it with new purchased screening. Or take your screen to your local hardware or home improvement store for a screen replacement.
Once the screens are completely dry, reinstall them in your windows, making sure they fit securely. Or, if you live in a cold, snowy climate, you may choose to remove your screens for the winter. This can prolong the life of a screen by preventing it from facing the snow and ice build-up over winter that can damage screens. It also makes the winter views from inside that much clearer!
To keep your screens in excellent condition, consider the following maintenance tips:
By caring for your window screens with regular cleaning and maintenance, you’ll ensure they continue to serve their purpose effectively while maintaining the clarity of your views and the comfort of your home. So, take some time to give your window screens the attention they deserve, and enjoy a cleaner, fresher living environment.

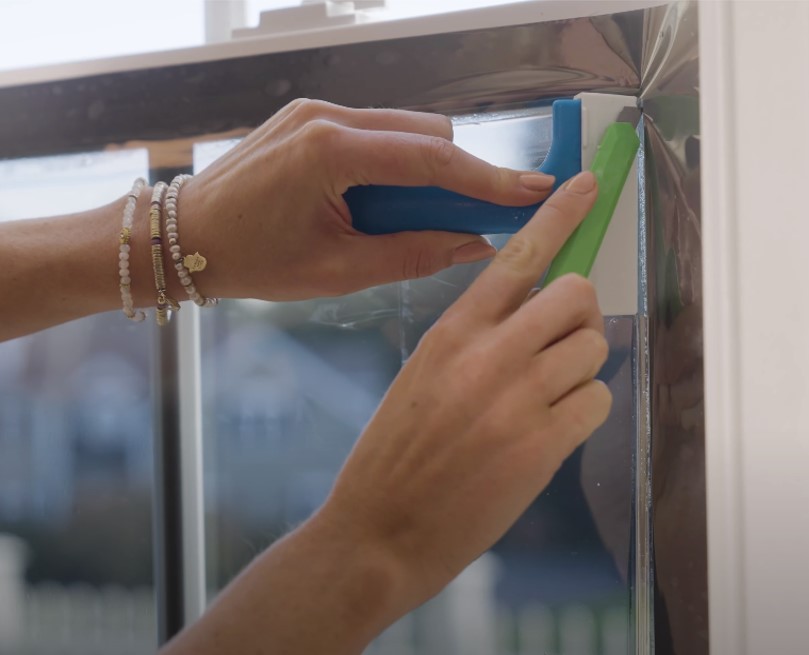
Our final tip to give your windows a glow up is to install window film. And one of the best times to install window film yourself is when you are doing your annual window cleaning! Cleaning the window thoroughly is the first step to installing film. So, if you’re cleaning your windows anyway, it’s a great timesaver to install film simultaneously.
Window film is an efficient and economical upgrade to your windows that can help with: solar control, energy efficiency, glare, fading, UV protection, and daytime privacy. Find out more about the benefits of window film.
Installing window film is an easy DIY project that anyone can do with the right film (ComforTech™ Ceramic Series from Concord Window Film!) and good step-by-step instructions.
Plus see all of our window film installation pro tips here.
Taking the time before the holidays to give your windows a glow up is a smart move that you’ll be thankful for come Turkey Day! Your windows are an integral part of your home and keeping them looking good, makes an impact on the overall feel of your home and curb appeal. What’s more, it makes for a great clean, clear canvas for all of your holiday décor.