
Trusted by Thousands of Homeowners Across the U.S.
Trusted by Thousands of Homeowners Across the U.S.
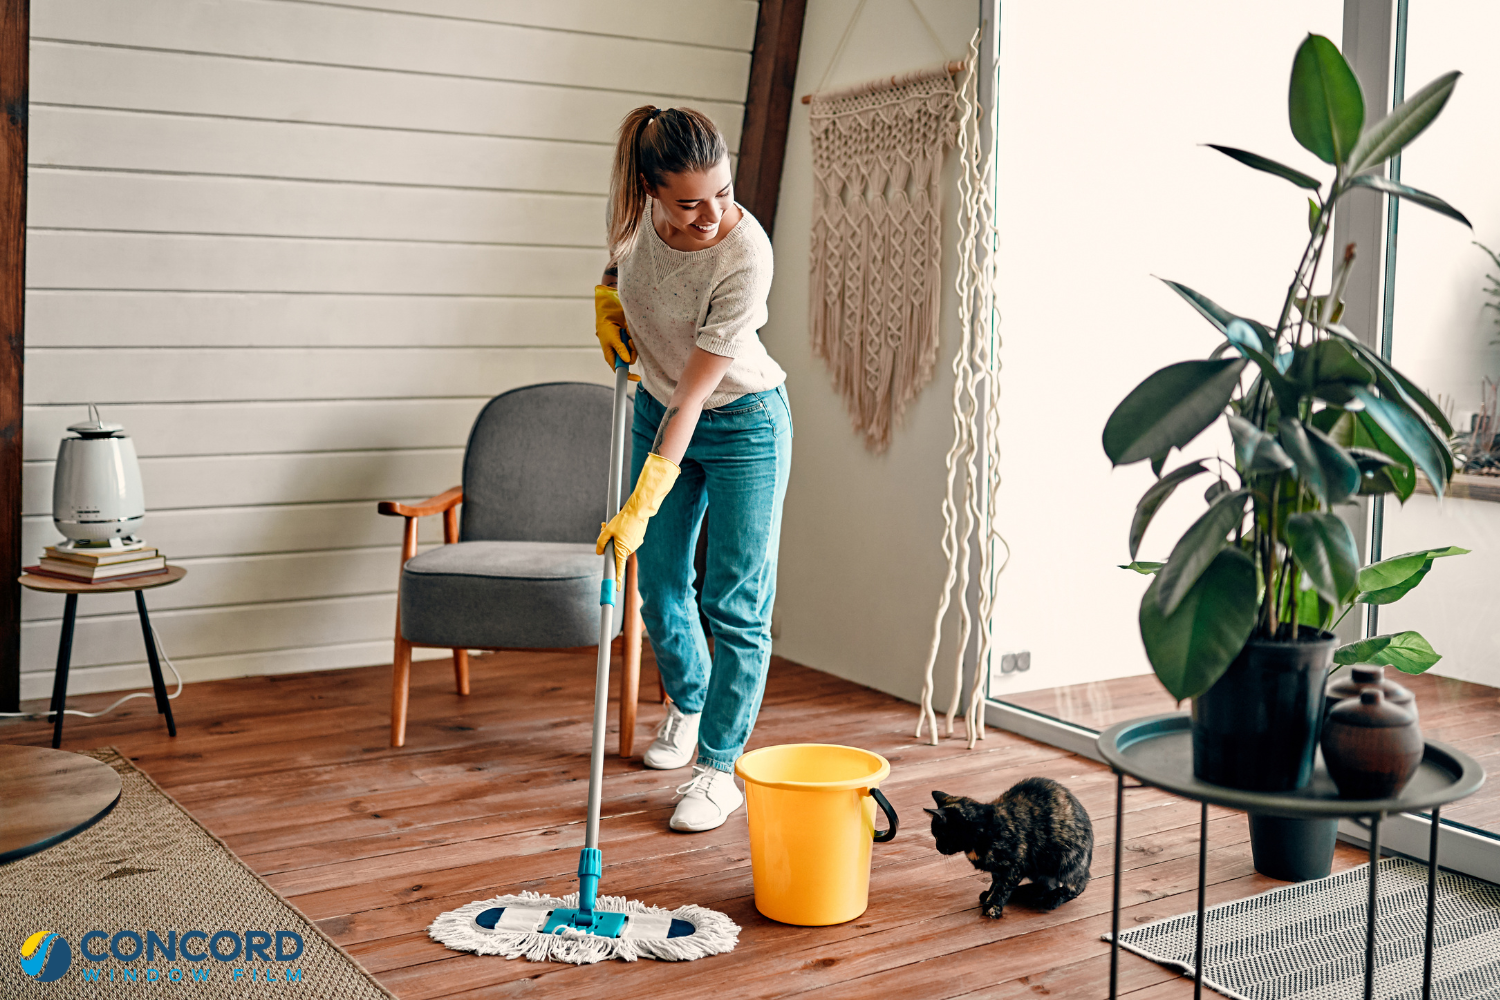
Spring has sprung! The days are longer, the sun is higher in the sky, and our thoughts turn to more outdoor activities as we wake up from our long winter nap. Spring is traditionally the time when we also shake our houses out of hibernation and do a deep clean of areas that may normally get a cursory wipe down. As the warming sun energizes you, channel that into these top 5 must-do spring cleaning jobs to prepare your house for another year.
Here are the top five must-do spring cleaning jobs:
Before you can clean, you must declutter. Spring is the best time to take stock of all the detritus of a season living indoors. Books and magazines read by the fire, or jigsaw puzzles and board games played after dinner. Take some time to go through your belongings, put things away that need it, and get rid of anything you no longer need or use. Offer items up for sale or for free on a local marketplace. Remember, one man’s trash is another man’s treasure.
Decluttering will make it easier to clean and organize the rest of your home – that is why it is first on our must-do spring cleaning jobs list!

Here are some tips on how to declutter your home:
Don’t try to declutter your entire home at once. This will be overwhelming, and you’re more likely to give up. Start with one room and focus on decluttering that room before moving on to the next room.
If you haven’t used something in the past year, it’s probably time to get rid of it. If you’re not sure if you need something, ask yourself if you would buy it again today. If the answer is no, then you don’t need it.
If you have items that are in good condition, you can donate them to a charity or thrift store. This is a great way to declutter your home and help others at the same time.
If you have items that are not in good condition, you can recycle them. This will help to reduce waste and protect the environment.
Decluttering can be a tiring process. Make sure to take breaks when you need them. Step away from the project for a few minutes and return to it refreshed.
As you declutter your home, take the time to celebrate your progress. This will help you stay motivated and make the process more enjoyable.
Decluttering your home can be a daunting task, but it’s worth it. Following these tips can make the process easier and more enjoyable.
Floors are something that are on the regular cleaning rotation, but polishing them may not be. Polishing wood floors can help restore their natural shine and protect them from scratches and wear.
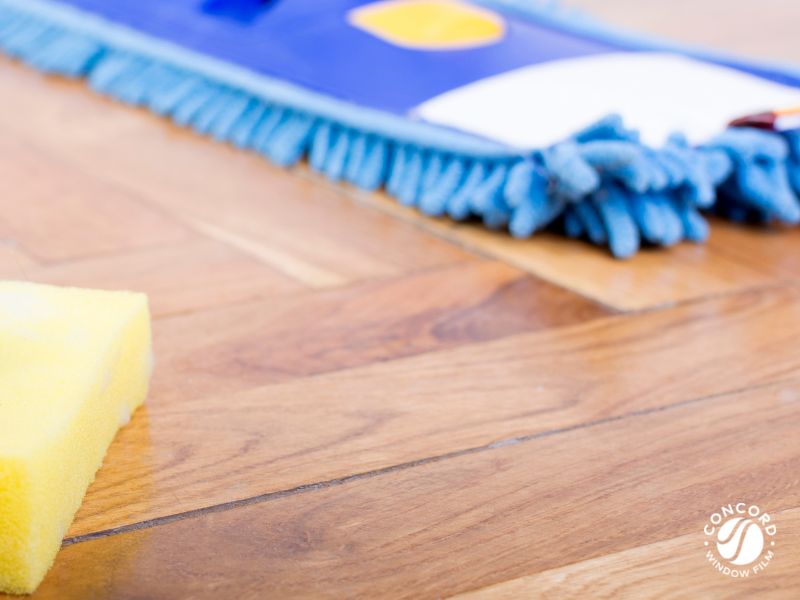
Here are some steps to follow to polish your wood floors:
Remove all furniture and rugs from the room. Sweep or vacuum the floor to remove any debris or dust.
When you remove your rugs, if you notice the floors beneath them are much darker than the exposed floor, you have a sun bleaching problem. To slow the effects of photodegradation, consider installing window film in rooms with hardwood floors. Blocking UV rays along with some visible light and infrared heat will all slow the damaging effects of the sun – not just on your floors but your furniture, decor and artwork too.
Read more about how to care for your wood floors here.
And about photodegradation and the causes of fading here.
Use a wood floor cleaner and a damp mop to clean the floor thoroughly. This will remove any dirt, dust, and grime that has accumulated over the winter months. Make sure to wring out the mop well to avoid excess water on the floor.
Use a floor buffer or a polishing machine with a soft pad to buff the floor. Move the machine in a circular motion, starting from the far corner of the room and working your way toward the door. Make sure to overlap your passes to ensure even coverage.
Apply a small amount of wood floor polish to a clean, dry cloth. Rub the polish into the floor in a circular motion, working in small sections. Apply additional polish as needed, but be careful not to use too much. You can use a commercial floor polish or make your own. If you are using a commercial floor polish, follow the instructions on the label. If you are making your own, mix equal parts of olive oil and vinegar in a spray bottle. Spray the mixture on your floors and buff them with a soft cloth.
Let the polish dry completely, following the manufacturer’s instructions. This can take anywhere from a few minutes to a few hours.
Once the polish is dry, use a clean, dry cloth or a floor buffer to buff the floor again. This will help to remove any excess polish and bring out the shine in the floor.
Once the floor is completely dry and buffed, you can replace your furniture and rugs.
Here are some additional tips for polishing your floors:
Your appliances are the workhorses of your kitchen. And while light cleaning probably happens daily or weekly, they need a deep clean once in a while to keep them functioning optimally. Cleaning your stove, oven, refrigerator, and other appliances will remove any food residue or grease that has built up over time and keep them looking good and working well.
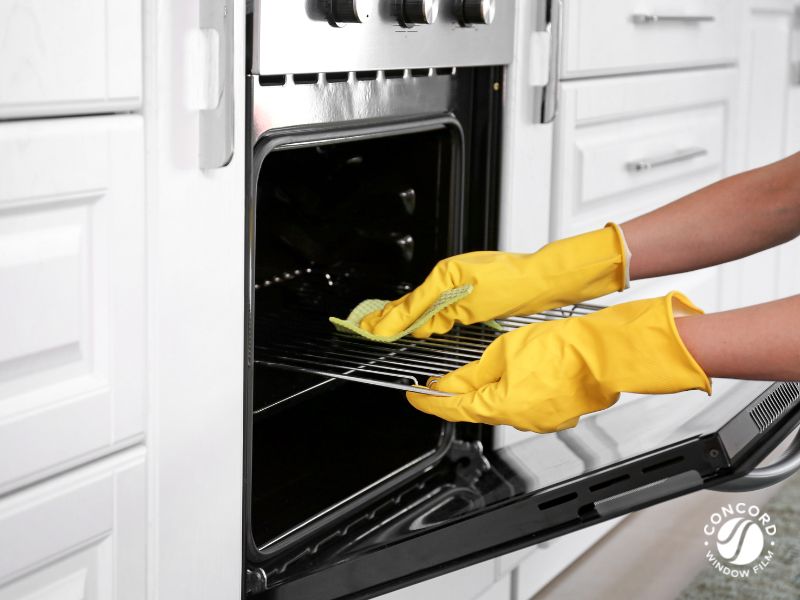
Here are some tips on how to clean your kitchen appliances:
The stovetop and associated vent hood can be one of the biggest areas for grease build-up and kitchen smells. Giving it a deep clean is essential to keeping your kitchen fresh. First turn off the stove and unplug it (if electric). This will help to prevent any accidents.
Then remove the grates and burner covers. These can be cleaned in the sink with hot, soapy water or in the dishwasher.
Clean the stovetop with hot, soapy water and a damp cloth. Be sure to get into all of the corners and edges. If you have a gas stove, clean the burner heads. These can be cleaned with a mild soap and water solution. Finally, replace the grates and burner covers.
Turn off the power to the vent hood and remove the filters. These can be washed in the sink or dishwasher. Clean the vent hood with a hot soapy water and a damp cloth. Be sure to get into all of the nooks and crannies. You may find you need a degreaser for your vent hood to remove built-up grease.
Next, clean the fan blades. And remove and clean the grease trap. The grease trap is located under the vent hood. It is responsible for collecting grease and food particles.
Finally clean the filters. Use a brush and hot soapy water to remove stuck-on grease and food particles. Then let the filters soak in a fresh sink of hot soapy water. Scrub again and rinse thoroughly. Let the filters dry before replacing. Some filters can be placed in the dishwasher and cleaned that way – check with your manufacturer to see if this is an option for you.
After a winter of casseroles and roasts (and major holiday dinners and baking!) it’s time to give the oven a deep clean.
Wipe down the inside of the oven with a damp cloth, then use a baking soda paste to clean any tough stains. Let the paste sit for 15 minutes, then wipe it away with a damp cloth. Rinse the oven well after cleaning. For a full tutorial, Real Simple gets down and dirty on how to clean your oven.
If you have a self-cleaning oven, spring is also a great time to run that program and really give your oven a deep clean. Remove any pieces of food or as much of large spills as you can prior to running the program to cut down on fumes produced.
This is something you are probably cleaning as you go, but spring is a great time to take everything out of the fridge and wash it down with hot, soapy water. You can take everything out or work shelf by shelf, and door by door.
Remove everything from a shelf to a counter or island. Remove the shelf or drawer and wash in the sink with hot soapy water. Then wash down the inside walls of the refrigerator around the shelf. Dry the shelf or drawer thoroughly before replacing it.
Then go through the contents of that shelf and look for anything that has expired, or that you won’t use and throw away. Wipe down any containers that may be sticky and return items to fridge.
Repeat with each shelf, drawer, and door; your refrigerator will thank you!
Ah, the dishwasher, the unsung hero of the kitchen. You never pay much attention to your dishwasher until it stops running and you understand its importance! Good maintenance will keep your dishwasher working for you, so add this appliance to your spring cleaning list.
Remove all of the dishes and silverware.
You can use a sponge or a soft cloth to wipe down the inside of the dishwasher. Be sure to get into all of the nooks and crannies.
The filter is located at the bottom of the dishwasher. It is responsible for catching food particles and debris. To clean the filter, remove it and rinse it under hot water.
The door seal is located around the door of the dishwasher. It is responsible for keeping water from leaking out of the dishwasher. To clean the door seal, wipe it down with a damp cloth.
Most dishwashers have a cleaning cycle that will clean the inside of the dishwasher and the filter. Check out the manufacturer’s instructions for your model.
Deep cleaning your microwave is important for maintaining its performance and ensuring that it remains hygienic. Here are some steps you can follow to deep clean your microwave:
Take out any large debris or food particles from the microwave.
Mix a cup of water with a tablespoon of white vinegar in a microwave-safe bowl or measuring cup.
Place the bowl or measuring cup inside the microwave and run it for five to ten minutes, or until the solution boils and creates steam. The steam will loosen up any dried food or grime inside the microwave.
Once the microwave has cooled down, use a damp cloth or sponge to wipe down the interior of the microwave. Pay extra attention to any areas with stubborn stains or buildup.
Don’t forget to clean the exterior of the microwave, including the control panel and the handle.
Use a clean, dry cloth to wipe down the interior and exterior of the microwave.
By following these steps, you should be able to deep clean your microwave effectively and efficiently.
It is important to clean your kitchen appliances regularly to prevent the build-up of dirt, grease, and food residue. This will help to keep your appliances in good working order and prevent them from becoming damaged.
Your carpets may look clean after you vacuum them, but if you’ve ever cleaned your carpets yourself, you’ll know how If you have carpets, springtime is a great time to clean them thoroughly to remove any dirt, dust, and pet hair that has accumulated over the winter months.
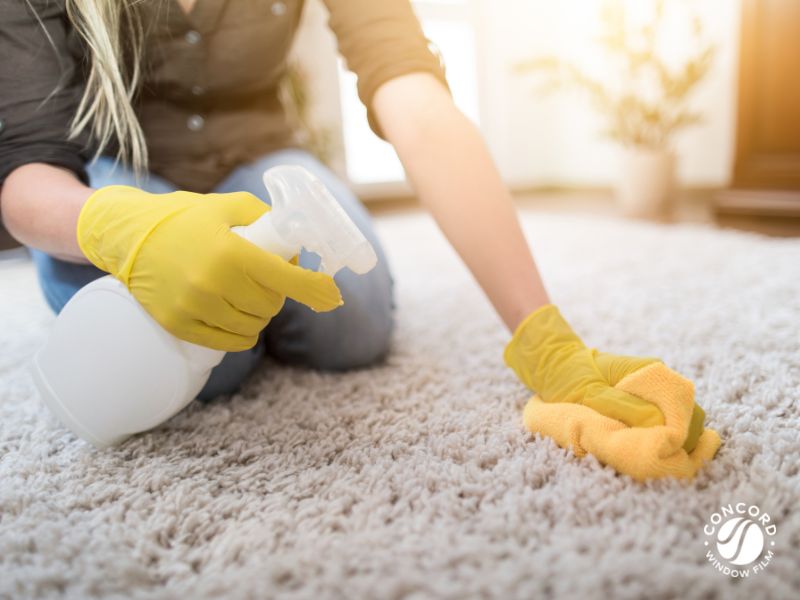
Here’s how to clean your carpets:
This will remove dirt, dust, and pet hair that can build up over time and cause your carpets to look dirty.
If you see a stain on your carpet, blot it with a clean cloth to remove as much of the liquid as possible. Then, apply a spot remover to the stain and let it sit for the time specified on the product label. Blot the stain again with a clean cloth and rinse it with water.
Using a home carpet cleaner or one rented from a hardware store, clean your carpets using a mild detergent. Avoid using harsh detergents on your carpets, as they can damage the fibers.
Be sure to rinse your carpets thoroughly after cleaning them, as any remaining detergent can cause the fibers to become matted. Swap out the water and detergent for fresh, clean water and run over the carpets a second time.
Let your carpets air dry. If it’s a nice day, open doors and windows to help the carpet dry faster. Do not walk on your carpets until they are fully dried. Do not use a hair dryer to dry your carpets, as this can cause the fibers to become damaged.
This will remove any dust or dirt that was left behind after cleaning.
If your carpets are heavily soiled or stained, you may need to have them professionally cleaned. A professional carpet cleaner will use a variety of tools and chemicals to remove dirt, dust, stains, and odors from your carpets.
Nothing prepares you to enjoy the beautiful spring and summer views of your garden like cleaning your windows. Get them sparkling and letting in more natural light with these steps on how to clean your windows.

Before you begin cleaning your windows, gather all the supplies you’ll need. You’ll need a bucket, a razor blade scraper, a squeegee, a microfiber cloth or chamois, and a cleaning solution. You can purchase a commercial window cleaner, or you can make your own with a mixture of equal parts water and vinegar or water and dish soap. Fun fact: most professional window cleaners swear by regular Dawn dish soap!
You can also get all of the supplies you need to clean your windows (And install window film!) with our tool kit.
Before you start cleaning the windows, use a soft-bristled brush or a microfiber cloth to remove any loose dirt or debris from the window surface and around the frame. This will make the cleaning process more efficient and prevent dirt from scratching the glass.
Once you’ve removed the loose dirt and debris, it’s time to apply the cleaning solution. You can apply the solution using a spray bottle or a sponge. Be sure to cover the entire surface of the window with the solution, paying extra attention to any stubborn spots or stains. To protect your walls and trim, you can open your window and place a towel or dropcloth down, closing the window on it to hold it in place.
Then take a razorblade scraper that is safe for glass and gently, using small motions, scrape off any dirt or residue that may still be on the windows. Use a paper towel or rag to clean the razor blade scraper periodically, being careful not to cut yourself.
When that is done, spray the window a second time – again covering the entire surface.
Next, use the squeegee to remove the cleaning solution from the window. Starting at the top of the window, pull the squeegee down the glass in a straight line, using a firm, even pressure. Wipe the blade of the squeegee clean with a microfiber cloth or chamois after each pass to prevent streaks.
After you’ve removed the cleaning solution with the squeegee, use a clean microfiber cloth or chamois to dry and buff the window surface. Wipe in a circular motion, starting at the top of the window and working your way down. This will help to remove any remaining streaks or smudges and leave your windows sparkling clean.
Don’t forget to clean the window frames and sills as well. Use a soft-bristled brush or a cloth to remove dirt or debris, then clean the surface with a damp cloth. You can also use a cotton swab or toothbrush to clean hard-to-reach areas.
Washing windows can be a chore – both inside and out should be cleaned to get the most benefit. If you have hard-to-reach windows or have a second story to your home, you might consider having your windows professionally cleaned. Check out the list of accredited window washers at the International Window Cleaning Association to find a pro in your area.
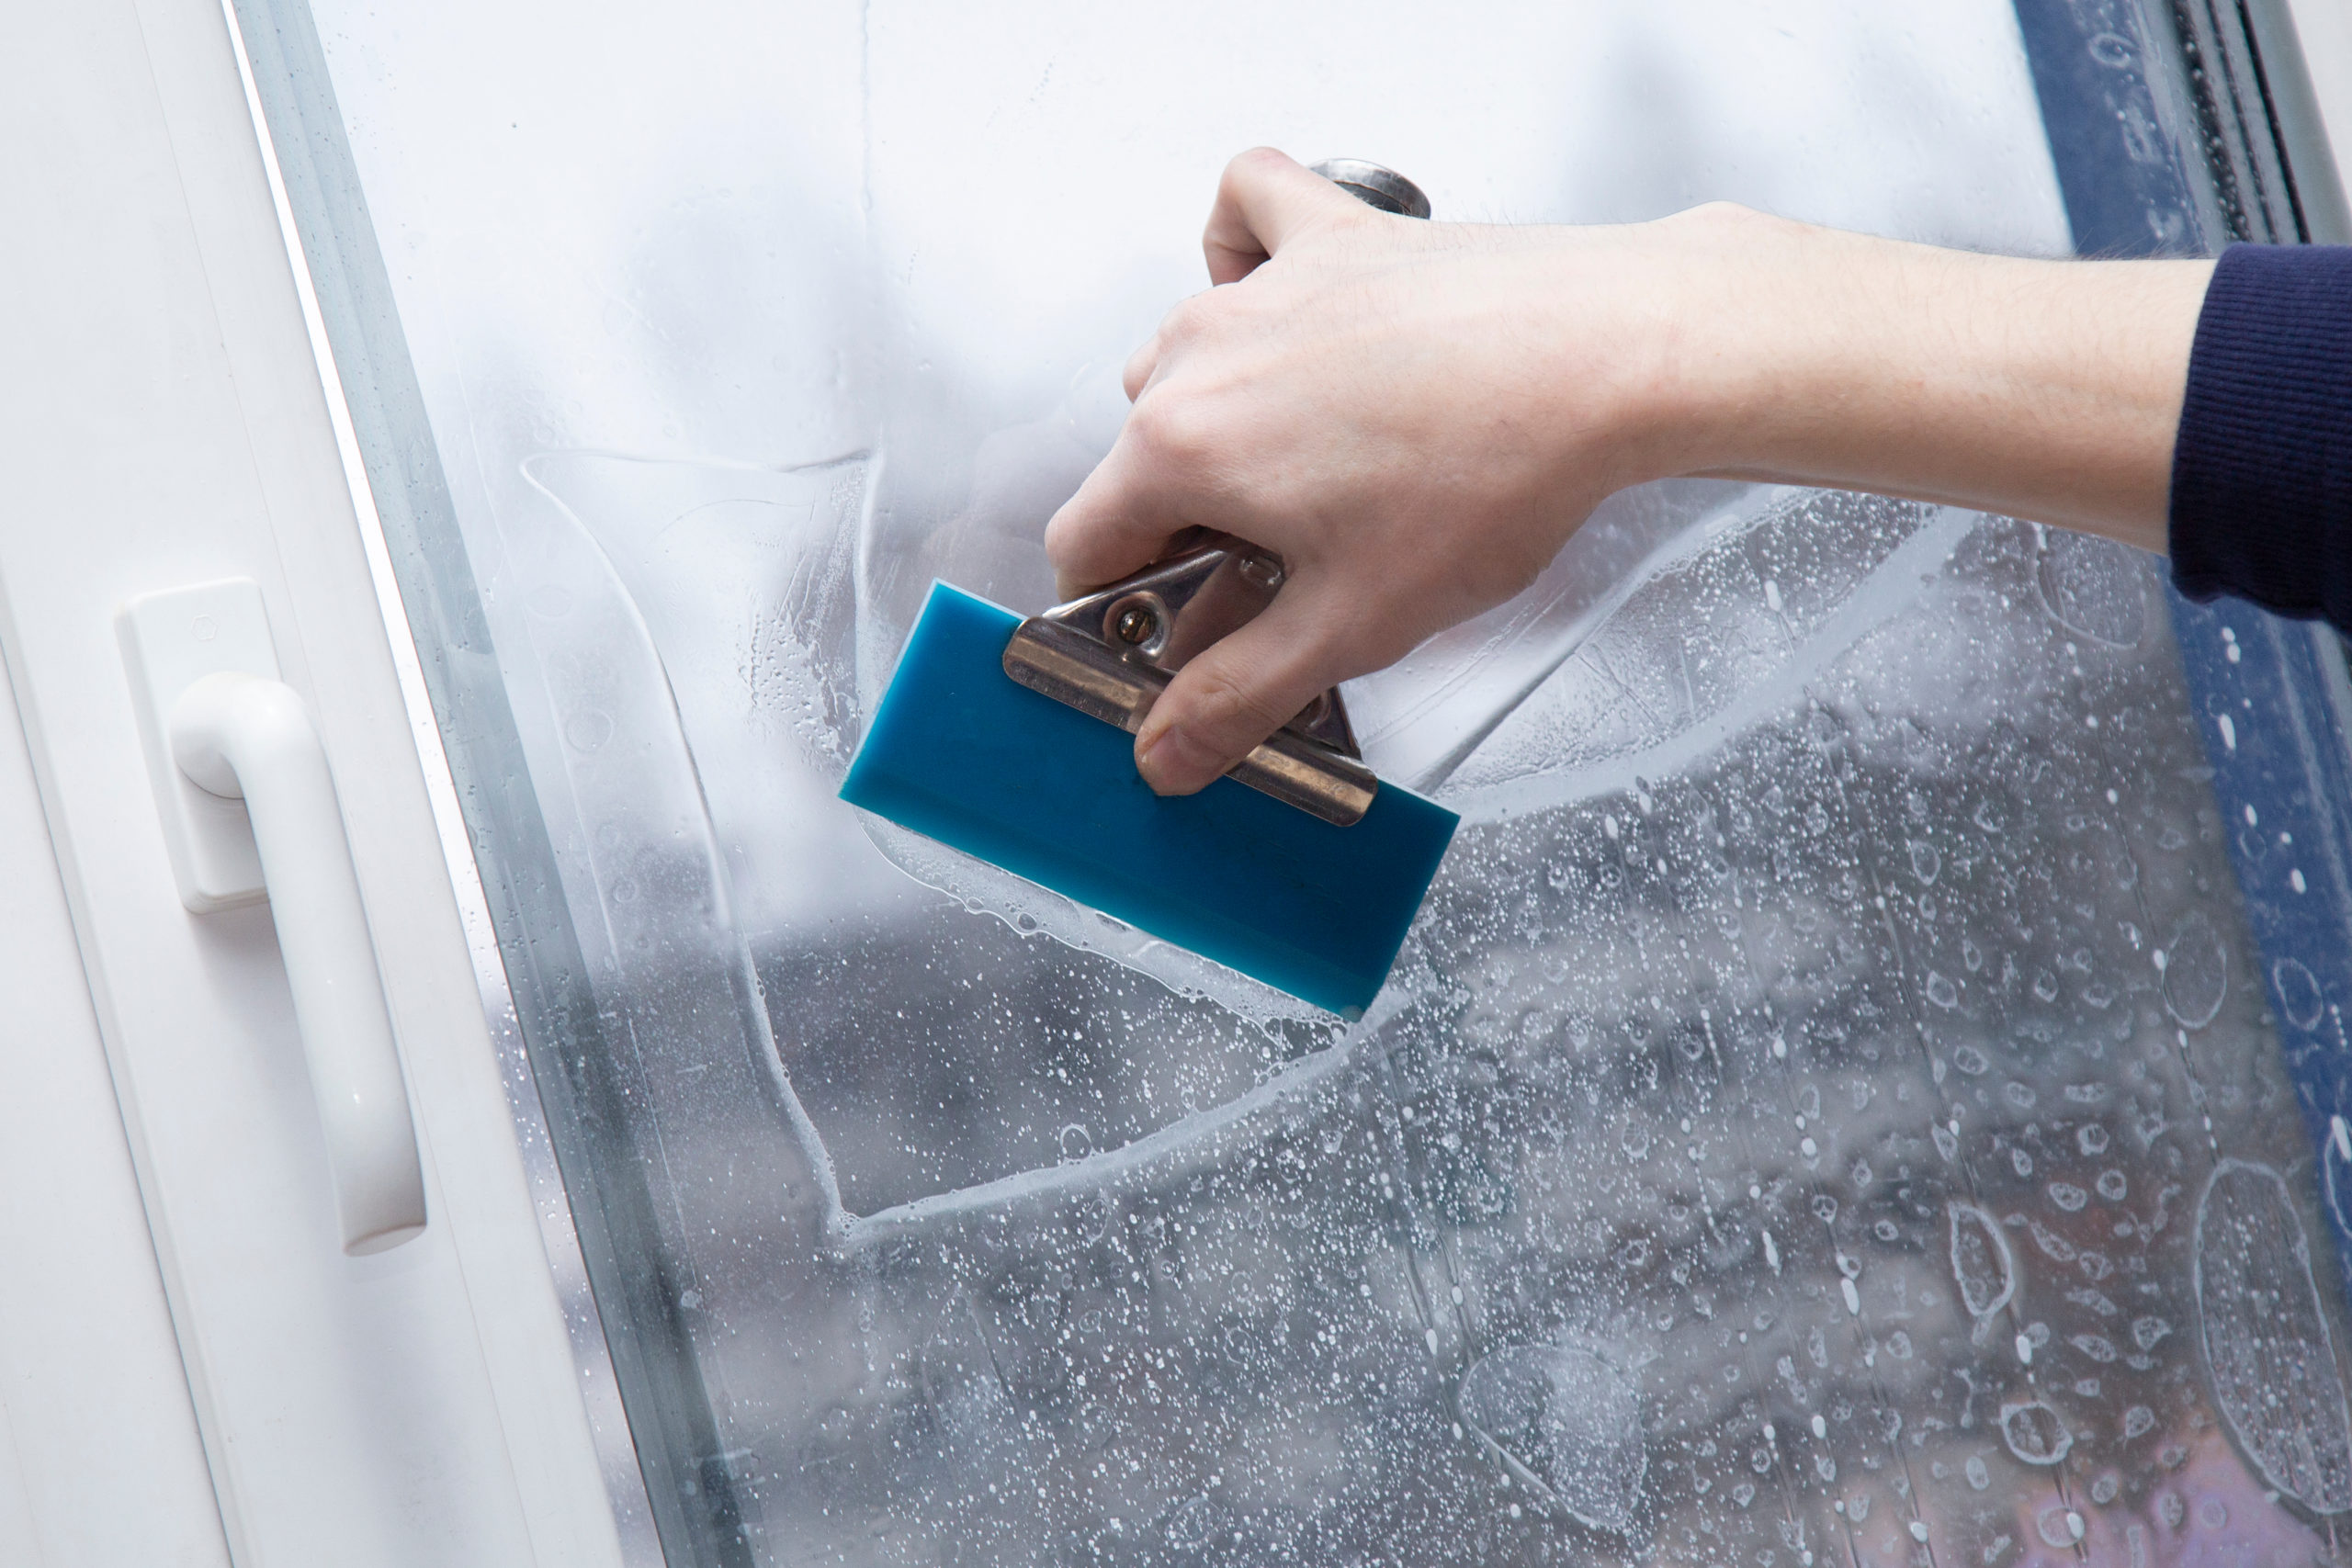
Now that your windows are clean, it’s the perfect time to install energy-saving and heat-busting window film. ComforTech™ Ceramic Series from Concord Window Film is professional-grade window film that you install yourself.
These are our top 5 must-do spring cleaning jobs that you can do to freshen up your home:
Take your time and spread out the work – or outsource some if possible! By completing these five must-do spring cleaning jobs, you’ll be living clean and breezy again!
And if you are washing your windows – consider applying window film at the same time! Cleaning the windows is step #1 in installing window film so you are already on your way. Our ComforTech Ceramic Series Window Film solves many issues including: reducing the heat coming through the windows, lowering energy use and costs, preventing fading, cutting glare, blocking harmful UV rays and the darker shades also provide daytime privacy.
For help choosing a shade take our product recommendation quiz or order a sample kit to see the film in person in your own space!
To help you get organized for spring cleaning, here are a couple of checklists!
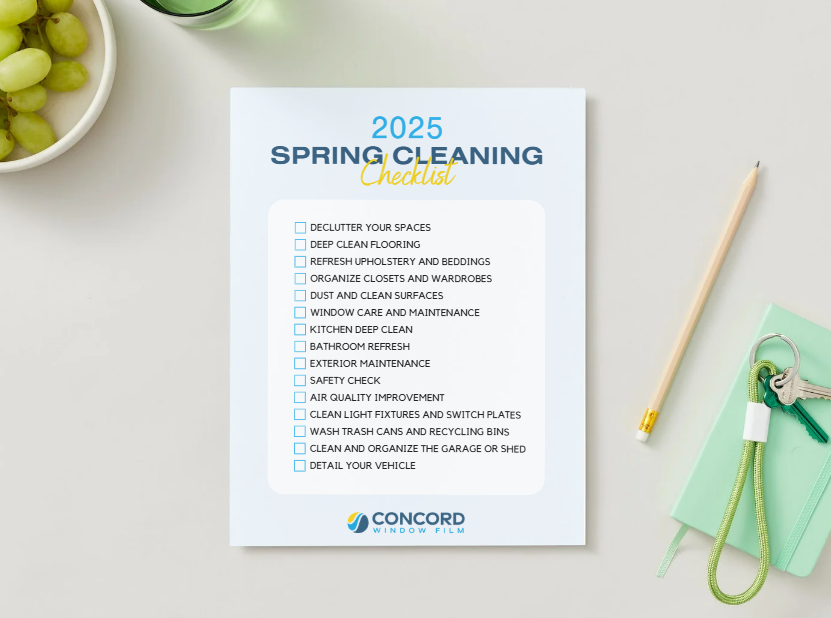
Get the Spring Cleaning Checklist
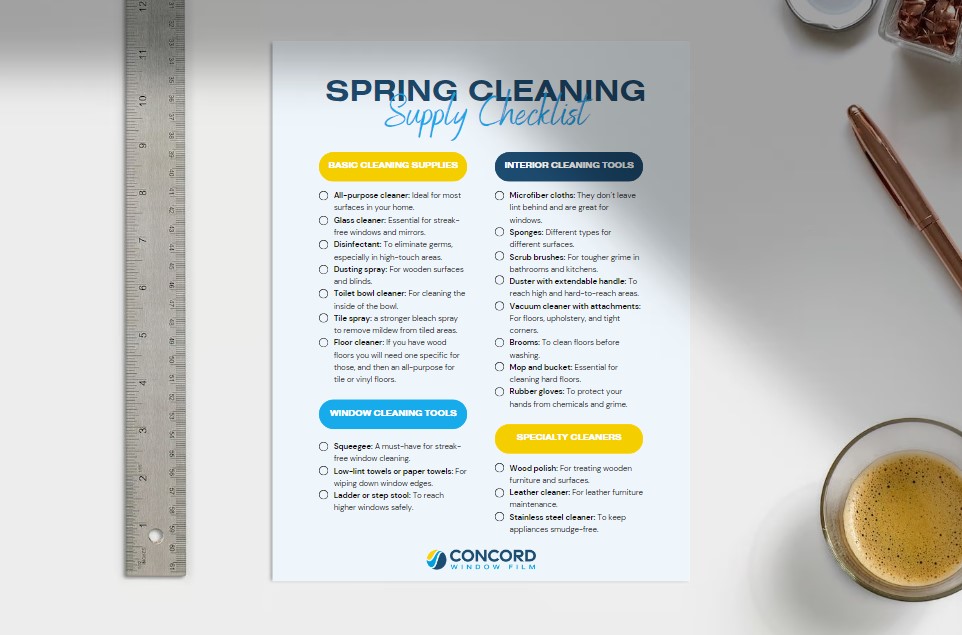
Get the Spring Cleaning Supply Checklist