FREE SHIPPING ON PRECUT KIT ORDERS OF $100 OR MORE

Winter is a time when most of us spend more time indoors. And while there is a temptation to hibernate, winter is a great time to tackle some indoor DIY projects so when the good weather comes, you can be enjoying it!
Here are our tips for top winter DIY projects:

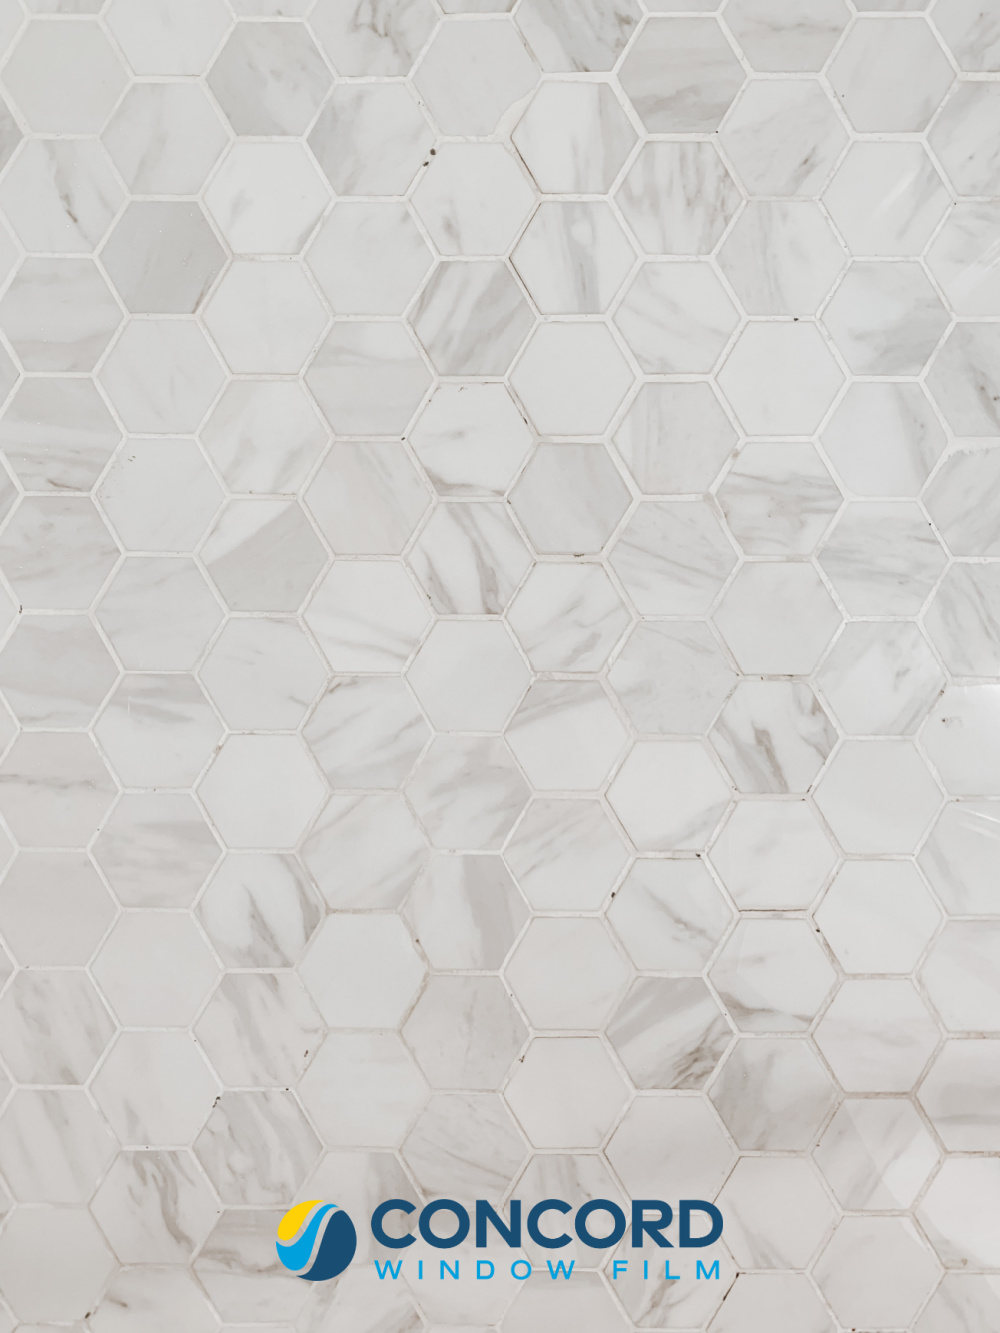
Constant daily use and water exposure can make bathroom tile look less than clean. Winter is the perfect time to restore your bathroom tile to its former beauty. Regrouting tiles is a simple process that can make a big difference in the appearance of your tiles.
Here is our step-by-step guide for regrouting tiles:
Clean the tiles thoroughly to remove any dirt, grime, or debris. A mixture of water and mild detergent can be used to clean the tiles.
Using a grout saw or a utility knife, carefully remove the old grout from between the tiles. Make sure to remove all the old grout, including any that may have been damaged or discolored.
Use a brush or vacuum to clean the joints where the old grout was removed. Make sure the joints are free of any debris or dust.
Mix the grout according to the manufacturer’s instructions. It’s important to mix the grout thoroughly to ensure an even color and consistency.
Use a rubber float to apply the grout in a sweeping motion, working diagonally across the tiles. Fill the joints completely, making sure there are no voids or air pockets.
Use a damp sponge to remove any excess grout from the surface of the tiles. Be sure to wipe the sponge often to remove any excess grout from the surface.
Allow the grout to set for about 15-20 minutes, then use a dry cloth to remove any hazy residue from the surface of the tiles.
Once the grout has completely set, apply a grout sealer to protect it from staining and prevent moisture from seeping in.
By following these steps, you can successfully regrout your tiles and give them a fresh, new look! For a visual guide, DIY Network has a great video.

Winter is a great time to go through your home and update your electrical plugs and switches to add more functionality and an updated appearance to your home.
Electrical plugs are typically updated to improve safety, compatibility, and efficiency. Many of us have homes whose age predates the internet and proliferation of electronics needing charging!
Here are some examples of electrical outlets to consider upgrading to:
Smart Plugs: These are electrical plugs with built-in Wi-Fi connectivity that allow you to control your devices through a smartphone app. They also provide energy usage tracking and scheduling features.
USB Plugs: These electrical plugs have built-in USB ports, allowing you to charge your USB devices without the need for a separate wall adapter.
Type C Plugs: These electrical plugs have a Type-C USB port, which supports faster charging and data transfer speeds.
Tamper-Resistant Plugs: These electrical plugs have shutters that cover the electrical contacts, making it difficult for children to insert objects into the socket and reducing the risk of electrical shock.
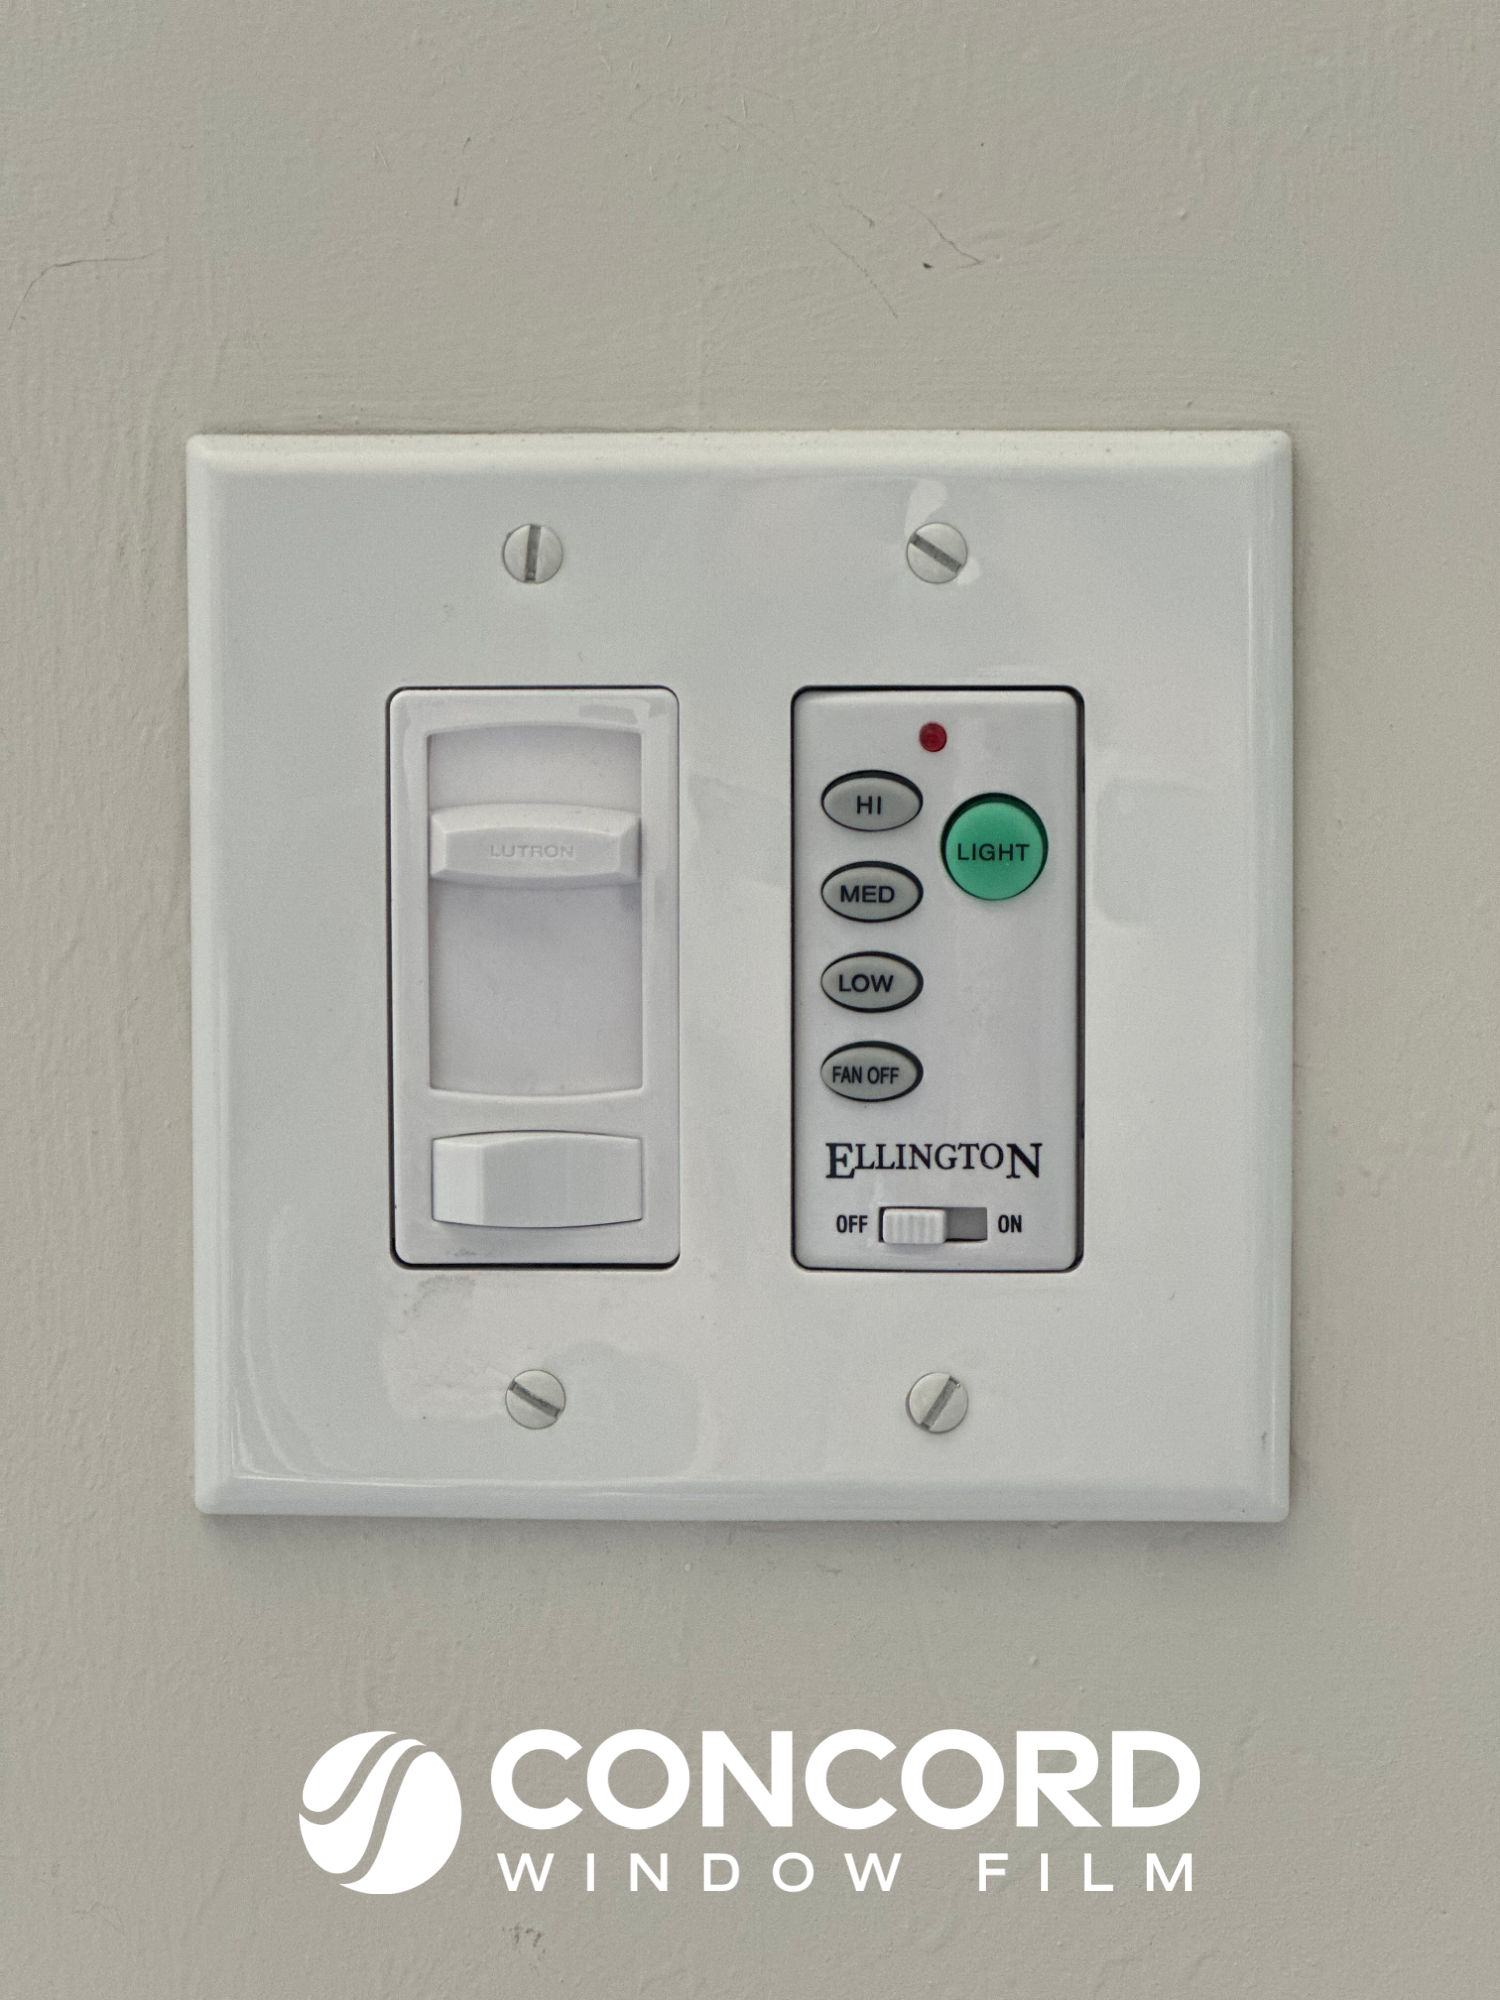
Modern light switches can make your home look more up-to-date and adding dimmer switches can improve the coziness of any room. Today’s new light switches have all kinds of great features like switches that have a nightlight so they’re easy to see in the dark or more advanced switches that can be voice-controlled through a home system like Alexa. Even if you aren’t looking for fancy extras, upgrading from old almond-colored toggle switches to bright white paddles can give your home a fresh, updated look.
Swapping outlets or switches is an easy DIY, but basic precautions must be taken when dealing with electricity. Always remember to turn the power off to the room you are working on (or the whole house to be extra safe)! You do this by shutting off the circuit breaker at the box. Always use a voltage tester at the outlet you want to swap to make sure it is not live.
Home Depot has great step-by-step instructions for changing outlets of switches.
If you just want to update the look of your old plugs and switches, but don’t feel comfortable taking on an electrical project, there’s a solution for that! There are outlet and switch covers you can purchase that go directly over your old receptacles without doing any electrical work. You simply swap out the old covers with the new one for an updated and uniform look.

Window film is a high-technology product made to enhance glass performance and is a cost-effective way to upgrade your windows without the high cost of replacing them. Read how window film works here.
Commercial buildings of all types (office, hotels, universities, medical) have long used window film in their design to improve the comfort within the building envelope and to increase the building’s energy efficiency. Controlling the amount of solar energy that enters through a building’s windows makes interior spaces more habitable and can lower cooling bills. The same is true for homes.
Blocking harmful UV rays – most window films block some or most UV rays from entering through your windows.
Preventing fading – furniture fabrics and wood floors and furnishings can fade over time from the sun coming through windows. Fading occurs from a combination of UV rays, visible light and heat – all of which are reduced with the addition of window film.
Controlling glare – glare happens when the light from the side of a task is brighter than the light coming from the task. Depending on the time of year (low angle of the winter sun in the Northern Hemisphere) or the orientation of your window (south or west) glare can present an issue in a room. Bright sunlight from windows can be especially troubling in a home office or TV/media room. Window film can cut the glare by reducing the amount of visible light entering a window.
Adding Daytime Privacy – Today’s home designs feature large windows to let in an abundance of natural light and views, but coupled with smaller lot sizes, comes privacy issues. Darker films like ComforTech™ 05 and 15 are great choices to add daytime privacy to your home.
Installing window film yourself is an easy DIY project that you can do in a weekend. It’s important to choose the best film, have the right tools, and do the prep work to insure a smooth install and a great result.
Here’s how to install window film:
ComforTech™ Window Film
Concord Window Film’s ComforTech™ Ceramic Series window film is the same film professional installers use. It’s thicker ply and dry adhesive make it a great choice for DIYers because it’s easy to install. And the state-of-the-art nanoceramic technology provides a consistent and long-lasting beautiful color that will enhance your home.
Shop now at windowfilm.com!