JANUARY 2026 SALE ON NOW – GET 15% OFF FILM FOR A LIMITED TIME
JANUARY 2026 SALE ON NOW – GET 15% OFF FILM FOR A LIMITED TIME

This post will tackle the most common window film installation problems to set you on a path to a great install!
Installing window film on your own is a great way to enhance privacy, block harmful UV rays, and reduce energy bills. However, as with any DIY project, there are things to avoid. Don’t worry—these issues are easily solvable with the right techniques.
Let’s review three common window film installation problems and provide practical solutions for each.
If you’ve read any of the online reviews of the film that you can purchase on amazon or the big box home stores, you’re probably already aware of some of the problems that people face when DIYing window film installation:
One of the most common issues during window film installation is crinkling. Crinkles happen when the film is not handled carefully or applied unevenly. Once the film wrinkles, it can distort the film’s appearance and make it less effective.
To prevent crinkling, it’s essential to minimize the amount you handle the film. When you do handle the film, do it with care. Avoid bending or folding the film. To move larger pieces of film (from the cutting table to the window for example) you should roll the film.
Luckily, this problem is more prevalent with thinner 1 MIL films. Our ComforTech™ Ceramic Series and our Clear UV films are all 2 MIL. And our Matte White and Silver 15 films at 1.5 MIL films. The thicker the film, the less likely it is to crinkle.
Another frustrating issue DIYers face is the film sticking to itself during installation. This will only happen with films that have a pressure sensitive adhesive. Once the liner (the protective backing) is removed and the adhesive is exposed, the film will stick to whatever touches it.
Once again, this is a problem that occurs with films with pressure sensitive adhesives. Our ComforTech™ Ceramic Series film has a dry adhesive that needs water to activate the adhesive. Because the adhesive side of the film is not sticky when you remove the liner, it is much easier to handle during installation and will not stick to things.
All of our other films have a pressure sensitive adhesive and there are a couple of tricks to handle this type of film once the liner is removed.
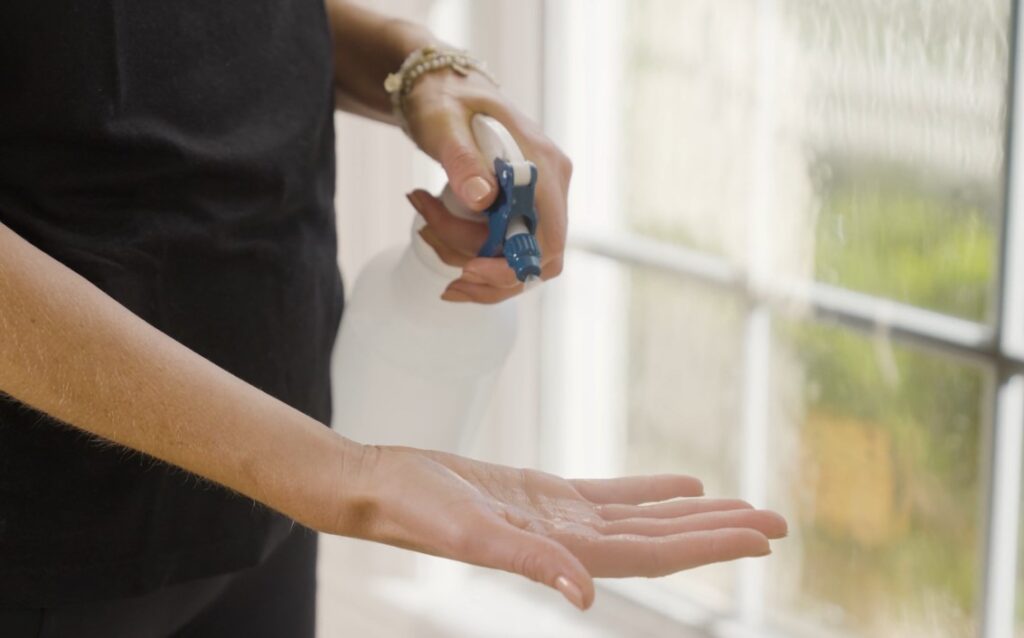
First, before handling the film, give your hands a light spray with the installation solution. This will prevent your fingers from sticking to the adhesive and potentially transferring dirt or oils from your hands to the film.

Second, as you remove the liner, spray the adhesive side of the film with the installation solution. The solution provides the “slip” that allows you to move the film into place on the glass. The solution will prevent the film from sticking to itself or other things before you get it on the glass.
After applying the film, you may notice tiny bubbles under the film. These are caused by failing to squeegee out all the water. Sometimes if the bubbles are small enough they will dry and disappear after a few days. But if there is air trapped underneath and the adhesive has set, the bubbles may not go away on their own and can leave the film looking unprofessional.
A good squeegee is your best friend during window film installation. Not using a squeegee with the proper hardness level will make it difficult to squeegee the water out from under the film. Using something that is too hard, can scratch the film. That is why we recommend you purchase the Installation Tool Kit with your film.

And to ensure a smooth finish, make sure you’re using the proper technique. Follow the instructions to make a T to secure the film to the window. Then use firm even strokes to push the excess moisture to the edge of the film.
Remember, the key is consistency—be thorough and patient during the squeegeeing process to ensure the best results.
Clean your windows thoroughly before installation, as even tiny particles of dust or grime can affect the final result.
Cut your film slightly larger than your window to give you room for error, and then trim the excess once it’s installed. We recommend adding 1″ to the width and height of your glass to allow for a final trim at the window. This also protects you in case the window frame isn’t true and square. Professionals always trim the film at the window for the best fit.
A good squeegee, utility knife, and application solution are all important for a successful window film installation. These tools can also help you avoid some of the common window film installation problems!
Our ComforTech™ Ceramic Series window film has a couple of features that differentiate it from other films you can purchase online:
As mentioned previously, most of the films for sale online are thin, lower quality films. In fact they are almost always only 1MIL thick which is ½ as thick as ComforTech™.
1MIL films are harder to work with because they crinkle and crease very easily. And once a piece of film is creased, it typically must be thrown away.
The other key feature that makes ComforTech™ a great DIY choice, is the fact that it is has a dry adhesive and not a pressure sensitive or sticky adhesive. The dry adhesive won’t stick to itself or anything else, so when you remove the liner, you don’t have to worry about that.
DIY window film installation doesn’t have to be a frustrating experience. By being aware of these common window film installation problems—crinkling film, the film sticking to itself, and not squeegeeing out all the water—you can avoid setbacks and achieve a flawless finish. Happy installing!
For more expert tips and advice on choosing the right window film for your home, visit our blog here and explore our range of solar control films, privacy films, and more.