FREE SHIPPING ON PRECUT KIT ORDERS OF $100 OR MORE

Installing window film yourself is an easy task once you are familiar with the steps. One important step that can trip folks up is removing the window film liner. But it’s not as hard as you may have heard. Read on for everything you need to know about how to remove the window film liner!
Every piece of window film has a liner (sometimes called a release liner) attached to protect the adhesive on the film. The liner must be removed to expose the adhesive so the film can adhere properly to the window. Every piece of ComforTech™ window film has a clear polypropylene liner protecting the film’s adhesive. To set the film up for installation, the liner needs to be removed.
Let’s look at the different adhesion methods next.
There are two categories of window film on the market: removable or static cling film and permanent or adhesive film. Static cling is often used for decorative films when the homeowner might want a temporary or seasonal look on their windows. These films can be stored and used again but do not last as long as permanent films.
Permanent films are made to bond to the glass in a “permanent” way (all window film can be removed) with an adhesive. These films are durable and meant to last 10+ years on windows with regular use and maintenance. Film companies use two types of adhesives: pressure sensitive and dry.
A pressure-sensitive adhesive feels sticky to the touch, much like the sticky side of a piece of cellophane tape. Once the liner is removed, you must be very careful with this type of adhesive because the film can stick to itself or other objects rendering it useless.
An easier adhesive to work with is a dry adhesive. All ComforTech™ Ceramic Series films use a dry adhesive to make installation a breeze. A dry adhesive needs a liquid to activate it before it can bond with something. This type of adhesive still needs to be protected by a liner because it will still attract lint and dust after some handling, but it won’t stick to itself while dry and is much more forgiving than the pressure-sensitive type.
There are a few different methods to remove the window film liner. Professional window film installers that handle film on a regular basis often use other methods to remove the liner such as with their teeth (we are not kidding!) or with their utility knife.
In this post, we will focus on two here that are best for first-time or beginning film installers. The two methods are with the tabs that come with Concord Window Film and with cellophane tape.
All ComforTech™ Ceramic Series window kits come with tabs pre-attached to each piece of film to make removing the liner super easy. As shown in the photo below, the tabs are attached to a corner of the film. One tab is attached to the liner side of the film and says PEEL here and one tab is blank and is attached to the film itself.

To remove the window film liner, while holding the blank tab, pull the tab labeled “PEEL HERE” (this is the liner side of the film) and begin the separation of the liner from the film.
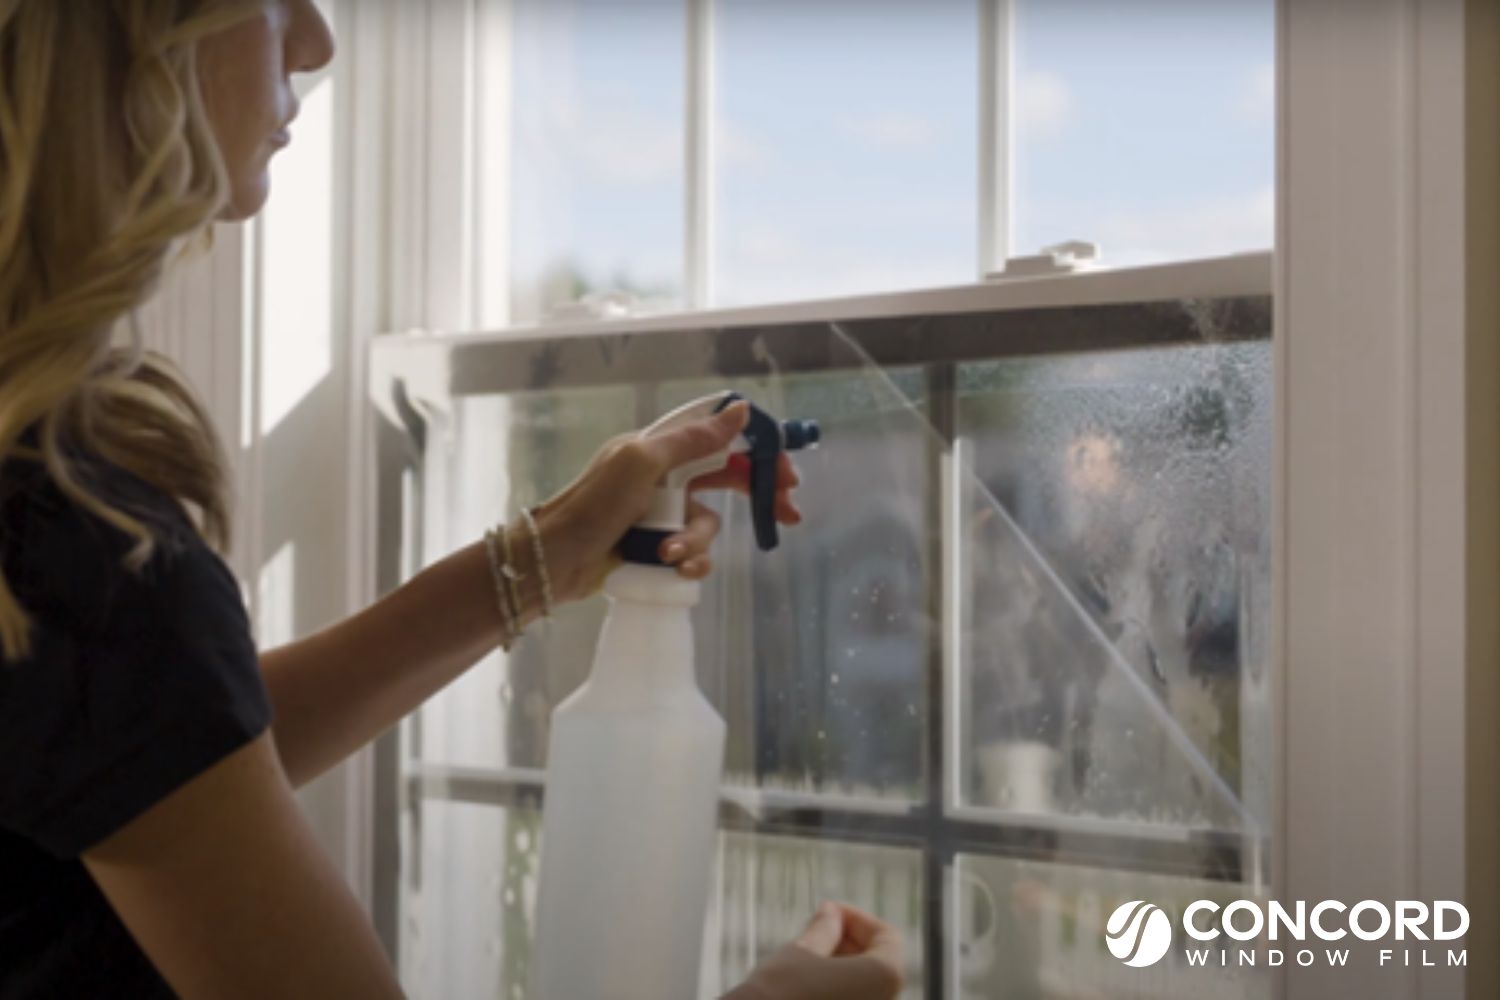
Once the liner begins to separate from the film, place the film on the wetted window with the liner side out. The film side should temporarily adhere to the wet window. While holding the film in place on the window, remove the remaining liner while spraying the installation solution on the exposed adhesive side of the film.

PRO TIP: This step is easier if you have another person to help you. They can help hold the film as you pull the liner away and spray the film.

(For full window film installation instructions, including removing the liner, get our Installation Guide or watch our installation videos.)
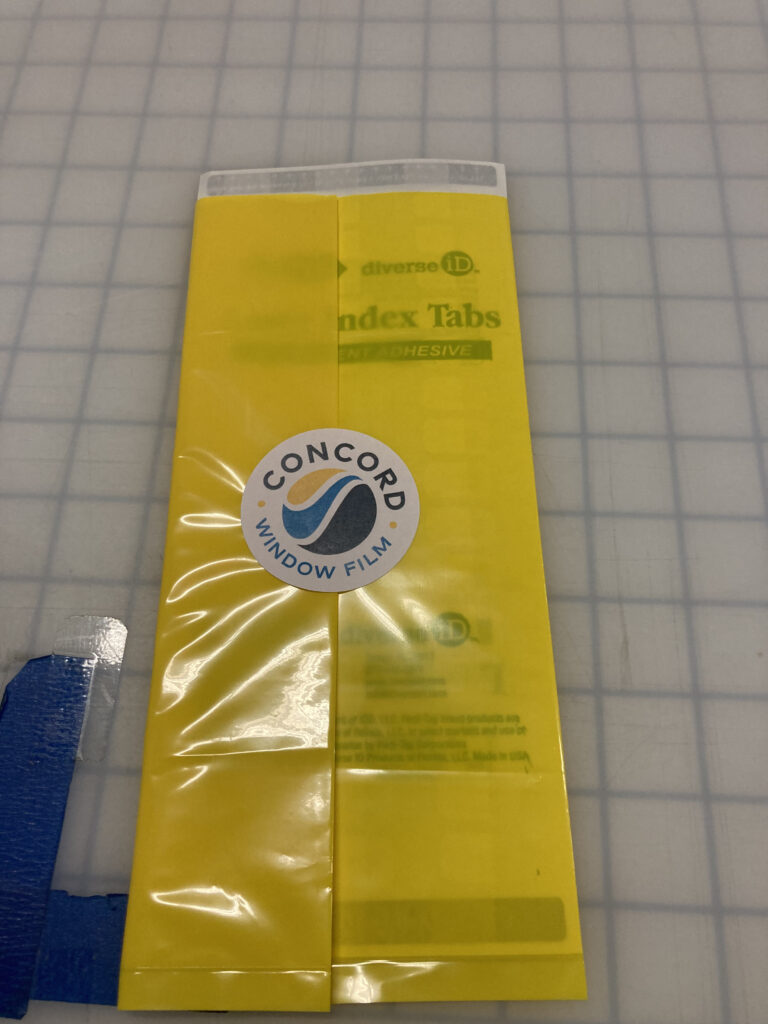
If you purchase a roll of film from us, we will include a set of tabs in the box for you to attach to your pieces of film. The tabs will be in a yellow sleeve so they are easily visible.

You should attach them to a corner of the film, just as is shown above. It’s important that the clear sticky part of the tab covers the entire corner of the film in order for the tab to work effectively.
If you lose the tabs that came with your roll of film (this has happened and is why we made the video below!), you can use cellophane tape to remove the film’s liner.
You’ll take a piece of tape – about 1.5” long and fold over one end to make a tab. Then you’ll attach the tape to one corner of the film. Take another piece of tape, make a tab, and attach it to the other side of the film on the same corner. Make sure the tape is firmly affixed to the film. Then grab the two tabs you created and pull them apart to release the liner.
The benefit of the tabs we provide is that the adhesive is stickier than household cellophane tape, and it adheres to the film and liner better, making it easier to pull apart. With the tape, you must press down on it firmly to make it stick to the film well. If the tape comes off the first time you attempt to pull the liner off, just try again with a new piece of tape, and make sure you are firmly pressing the tape to the film.
Window film is an easy DIY project that can improve the comfort and energy efficiency of your home if you have the right product and tools.
Any window film you purchase will have a liner protecting the adhesive side of the film. If you purchase a film kit from Concord Window Film, each piece of film in the kit will have tabs pre-attached to help you remove the liner. If you purchase rolls, we include a sheet of our high-adhesive tabs.
In the absence of tabs, you can also use regular cellophane tape, but you need to make sure you firmly apply the tape to the corner of the film, because cellophane tape’s adhesive is not as strong as the tabs.
Find out more about window film and window film installation on our site.